
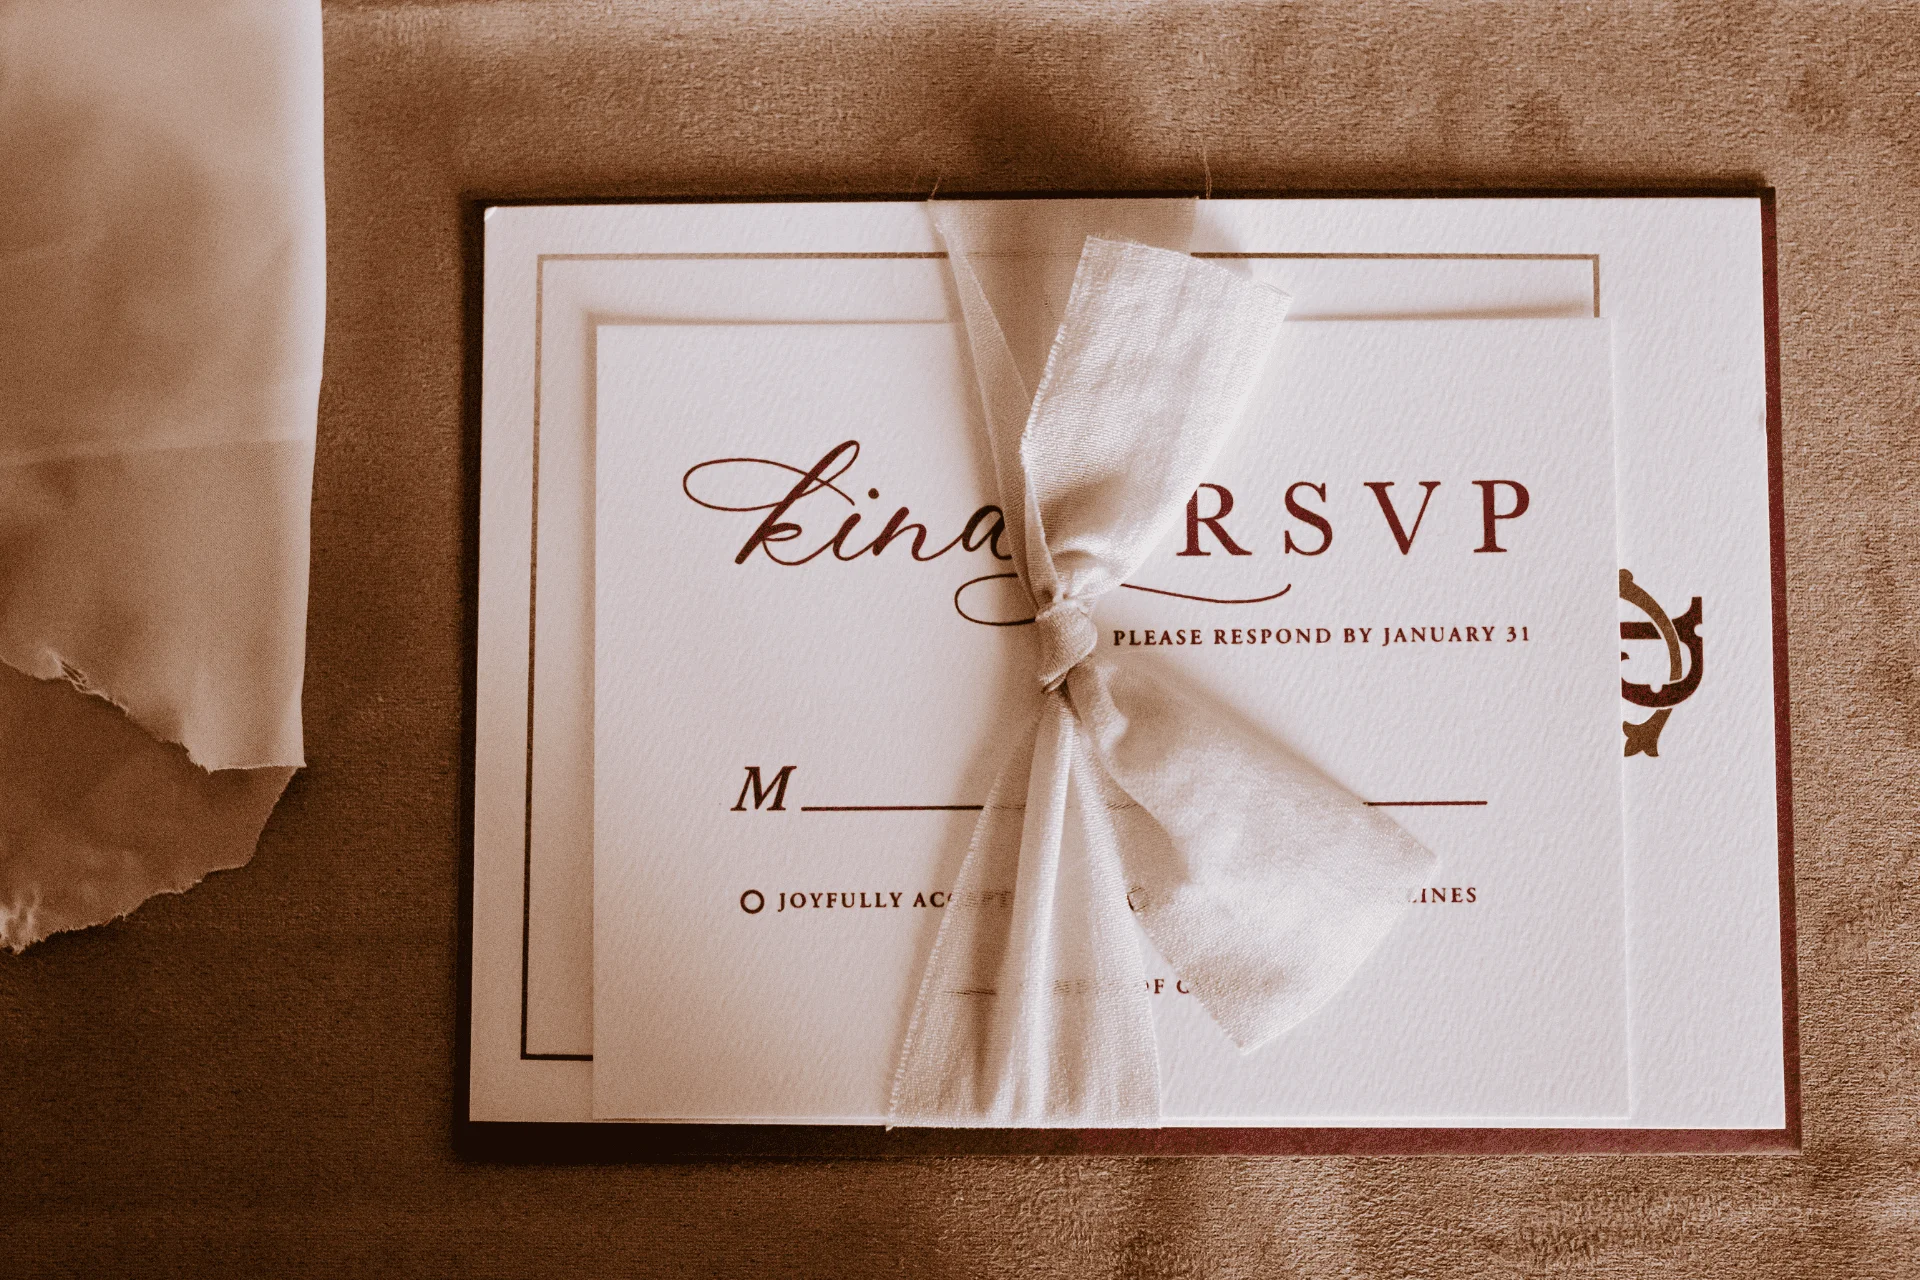
How to Package Wedding Invitations: A Step-by-Step Assembly & Mailing Guide
The invitation is the very first impression your guests will have of your wedding day. Before anyone sets foot on the grounds of our venues, they’ll hold an envelope in their hands. That small, tactile moment sets the tone for everything to come.
At Pen Ryn Estate, we’ve watched couples pour their hearts into gorgeous invitation suites, only to second-guess themselves at the last step: how do you package and mail it without bending a corner or dealing with the unpleasant surprise of undeliverable mail?
Consider this your definitive guide to how to package wedding invitations. Our wedding planning experts will cover how to assemble wedding invitations in the correct order, package them so they arrive pristine, and safeguard your mailing so nothing gets returned or delayed.
Anatomy of a Wedding Invitation Suite
Before you can assemble or package anything, it helps to know what you’re working with. Most modern suites include several distinct pieces, and understanding each one’s purpose makes the stacking order that much more intuitive. Generally, a wedding invitation suite includes:
- Outer envelope: What guests receive in the mail, bearing their name and address. This is the piece you’ll ultimately weigh and stamp.
- Invitation card: The star of the show, announcing the date, time, and location of your ceremony.
- Details card: A supplementary card covering accommodations, transportation, your wedding website, or dress code.
- Reception card: Used if your ceremony and reception are separate events, or to keep reception details distinct.
- RSVP card and envelope: The response card, paired with its own small, pre-addressed and pre-stamped envelope.
- Inner envelope (optional): An unsealed, unaddressed envelope holding the suite before it’s tucked into the outer envelope. It’s a formal touch that adds polish but also a bit of extra weight to account for.
- Embellishments: Ribbon, wax seals, vellum wraps, or belly bands that elevate the presentation.
Once you know your pieces, the next question is always the same: what order do they go in?
How to Assemble and Stack Your Invitations (The Correct Order)
This is where most couples want a definitive answer, so here it is: invitation suites are stacked largest to smallest, face-up, so the most important information greets your guest first.
To assemble your wedding invitations, follow these steps:
- Start with the invitation card, face-up, as your base layer.
- Add the reception or details card next, centered on top, face-up.
- Layer the RSVP card on top, tucked under the flap of its own small envelope to keep the two together.
- Add any accent pieces (a belly band, wax seal, or ribbon) as the final flourish that holds the stack together.
- Tuck everything into the inner envelope, if you’re using it, and fold facing the back so it opens intuitively.
- Slide the inner envelope into the outer mailing envelope, folded edge first, so your guest pulls the suite out right-side-up.
If you’re skipping the inner envelope, simply place the assembled stack directly into the outer envelope in the same order.
Step-by-Step Guide to Packaging and Sealing Envelopes
With your suite properly stacked, packaging is next. The goal here is to protect the beautiful presentation that you so carefully assembled. Here’s how we recommend approaching it, whether you’re doing this solo or recruiting your bridal party for an assembly-line afternoon:
- Set up a clean, dry, flat workspace. Make sure you avoid coffee rings, pet hair, humidity, or anything that could cause damage.
- Assemble suites in batches of five or ten rather than one at a time, so you catch any errors before they multiply.
- Insert the stack with the top of the invitation facing the envelope flap. This is the detail that separates a polished suite from an amateur one: your guest should pull it out right-side up and ready to read.
- Moisten seals evenly with a damp sponge rather than your tongue. This is faster, more sanitary, and prevents over-saturation and wrinkling.
- Press seals shut and let them rest under a light weight (a stack of books works well) so the adhesive sets flat, especially with wax seals or embellishments that add bulk.
- Double-check names and addresses against your guest list one final time before sealing.
- Store completed envelopes flat and stacked, not standing on edge, to prevent warping while you finish remaining batches.
Crucial Mailing & Postage Safeguards (Don’t Skip This!)
This is the step that trips up even the most organized couples, so we want to be direct: do not guess your postage. Wedding suites are notoriously heavier and more oddly shaped than standard mail, and getting this wrong means invitations returned to sender, or worse, never delivered at all.
Weighing wedding invitations correctly is non-negotiable. A single invitation card in a plain envelope might be under an ounce. But add a details card, an RSVP envelope, an inner envelope, a wax seal, or ribbon, and you can easily tip into two- or three-ounce territory. Here’s how to get it right:
- Assemble one complete suite first before you order a single stamp.
- Weigh that finished sample on a kitchen or postal scale; don’t estimate based on the invitation card alone.
- Take your finished sample to the post office and have a clerk confirm the weight and postage in person. This is the single best piece of wedding mail etiquette advice we can offer: a five-minute trip to the counter can save you from a whole returned batch weeks later.
- Ask about hand-cancellation if your envelope includes a wax seal, ribbon, or other raised embellishment, so delicate details aren’t crushed by automated sorting equipment.
Notes on Mail Shape & Size
Beyond weight, shape matters just as much. Square envelopes, oversized cards, and anything with a rigid or “lumpy” feel are automatically classified as non-machinable and require additional postage.
The USPS requires letters to measure at least 3½ inches high by 5 inches long by 0.007 inch thick, and no more than 6⅛ inches high by 11½ inches long by ¼ inch thick.
Anything outside those parameters or otherwise irregular in shape is subject to a nonmachinable surcharge.
If your suite uses a trendy square envelope or thick, textured cardstock, budget for that extra postage from the start. Check the full specifications on the official USPS Postal Explorer page if you need more guidance.
If you want to be extra safe, follow these best practices for mailing wedding invites:
- Order stamps six to eight weeks ahead so a design you love isn’t sold out
- Choose a coordinating stamp for both the outer and RSVP envelopes
- Mail yourself a test invitation first to confirm timing and condition on arrival
Elevating Your Packaging to Match Your Venue Aesthetic
Your invitation is the guest’s first glimpse into the world you’re creating for your wedding day. At Pen Ryn Estate, we’re fortunate to offer couples several distinct settings, and we always encourage matching your packaging details to the aesthetic of the space you’ve chosen. Here are our favorite wedding invitation packaging ideas for each.
The Historic & Timeless Look (Pen Ryn Mansion & Belle Voir Manor)
Pen Ryn Mansion and Belle Voir Manor carry the gravitas of centuries-old architecture, sweeping staircases, and old-world craftsmanship. For couples celebrating in either space, we love packaging that leans into tradition:
- Deep, rich envelope liners in navy, burgundy, or hunter green
- Wax seals in ivory, gold, or a deep jewel tone, pressed with a monogram or family crest
- Classic silk or grosgrain ribbon, tied in a simple bow around the stack
- Formal calligraphy in a traditional serif or copperplate script
- An inner envelope for that extra layer of ceremony and reveal
These details echo the manor’s own sense of occasion, the feeling that something significant is about to happen.
The Modern & Airy Aesthetic (River’s Edge Garden Pavilion)
River’s Edge, with its natural splendor and unobstructed water views, calls for a lighter touch. We suggest packaging that feels fresh, organic, and a little more relaxed without sacrificing polish:
- Vellum wraps or translucent bands instead of a full inner envelope
- Botanical wax seals in sage, blush, or soft neutral tones
- Twine or raffia in place of traditional ribbon, paired with a sprig of dried greenery
- Minimalist, sans-serif or modern script typography
- Simple belly bands that let the invitation’s own design breathe
Whichever direction you choose, the goal is the same: a package that feels like a genuine preview of the day ahead, thoughtfully assembled and confidently mailed.
Conclusion & Next Steps for Your Dream Wedding
Packaging your wedding invitations well is a small, meaningful act of hospitality. It tells guests, before they even RSVP, that this celebration has been planned with care. Assemble your suite in the correct order, package and seal each envelope properly, and never skip that all-important trip to the post office to confirm postage. Get these details right, and your invitations will arrive as beautifully as they left your hands.
If you’re still dreaming up a celebration as memorable as its invitation, we’d love to help. And whenever you’re ready to see Pen Ryn Mansion, Belle Voir Manor, or River’s Edge in person, our team is here to help bring the entire vision to life. Contact us to schedule a tour or request a quote.


